Alibaba Cloud provides a robust DNS service that you can use to set up your SPF record. This guide will take you through the steps to configure an SPF record for your domain on Alibaba Cloud, whether you’re a small business owner or managing a large organization’s IT infrastructure.
What is an SPF record?
An SPF record is the list of mail servers and domains that send email on behalf of your domain. It also instructs receiving servers on how to handle messages after verification. Receiving servers use your SPF record to confirm that incoming emails claiming to be from your organization are sent from servers you’ve authorized. A domain can only have one SPF record, but this record can list multiple servers and third parties permitted to send emails on behalf of your domain.
Prerequisites before setting up SPF for Alibaba Cloud?
Before setting up an SPF record on Alibaba Cloud, ensure you have checked the following points:
Get access to Alibaba Cloud DNS
Register your domain through Alibaba Cloud DNS. If your domain is registered elsewhere, you will need to transfer it to Alibaba Cloud DNS or manage DNS settings through Alibaba Cloud.
Prepare a list of authorized sending servers
Be aware of the mail servers’ IP addresses that are permitted to send emails on your domain’s behalf. This might include your web hosting server, third-party email services like Mailgun or SendGrid, and any other services that send emails using your domain.
Basic Knowledge of DNS Management
Although creating an SPF record is simple, it is helpful to have a basic understanding of DNS management.
How to set up SPF for Alibaba Cloud: steps to follow
Step 1: Log in to the Alibaba Cloud Console
The first step is to log in to your Alibaba Cloud account.
- Visit the Alibaba Cloud Console.
- Enter your login credentials and click “Log In.”
- Once logged in, navigate to the “DNS” section under “Network & CDN.”
Step 2: Select Your Domain
After accessing the DNS management section, you’ll need to select the domain for which you want to set up the SPF record.
- In the DNS section, you will see a list of your domains.
- Click on the domain name for which you want to add the SPF record.
- This will take you to the DNS settings page for that specific domain.
Step 3: Add a New TXT Record
Now that you’re on the DNS settings page for your domain, it’s time to add the SPF record as a TXT record.
- Click on the “Add Record” button.
- A form will appear where you need to fill in the details for the new record.
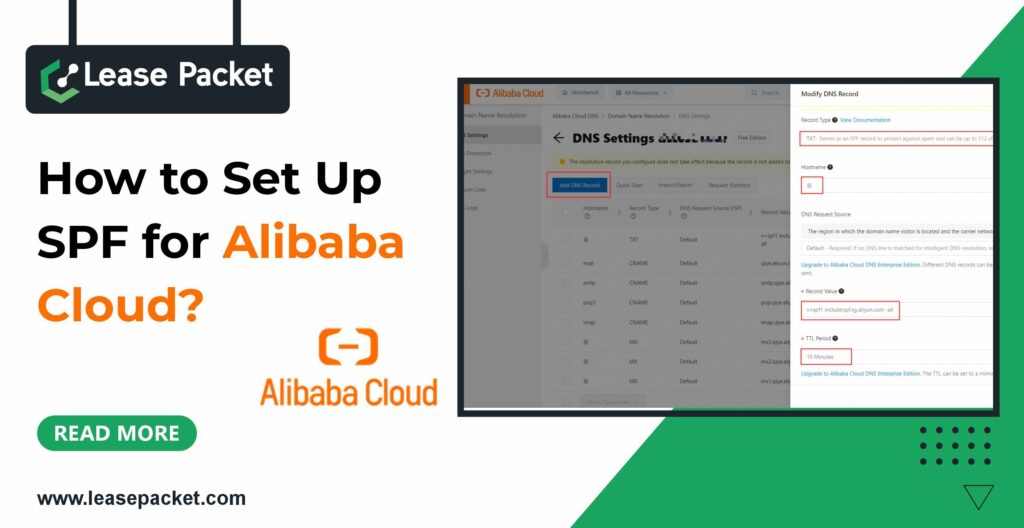
Step 4: Configure the SPF Record
In the “Add Record” form, you’ll need to configure the following settings:
- Type: Select “TXT” from the drop-down menu. This specifies that you are adding a TXT record.
- Host: Enter “@” to apply this record to the root domain, or enter a subdomain if you are configuring the SPF record for a specific subdomain.
Value: This is the SPF rule that defines which servers can send emails on behalf of your domain. The basic syntax for an SPF record is:
CSS
Copy code:
v=spf1 <rules> ~all
For example, if you’re allowing emails from a specific IP address and a third-party email service, the value might look like this:
makefile Copy code
v=spf1 ip4:192.168.0.1 include: spf.thirdpartyservice.com ~all
- Here’s a breakdown of what this means:
- v=spf1: Indicates the version of SPF being used.
- ip4:192.168.0.1: Authorizes a specific IP address to send emails to your domain.
- include: spf.thirdpartyservice.com: Includes the SPF rules from a third-party service.
- ~all: specifies that all other servers not listed should be treated with suspicion (soft fail).
- You can adjust the SPF rules based on your requirements. For instance:
- Use -all instead of ~all to enforce a stricter policy, rejecting emails from unauthorized servers.
- Add multiple IP addresses or domains by separating them with spaces.
- TTL (Time to Live): Set the TTL value, which determines how long the record is cached by DNS resolvers. A typical value is 3600 seconds (1 hour).
Step 5: Save the Record
After configuring the SPF record, click the “Confirm” or “Save” button to add the record to your DNS settings. The SPF record will now be live, although it may take some time to propagate across the internet.
Step 6: Test Your SPF Record
Once the SPF record is added, it’s a good practice to test it to ensure it’s working as expected.
- Using Online Tools: You can use online SPF lookup tools to check if your SPF record is correctly configured. Tools like MXToolbox, SPF Checker, or DNSstuff can provide detailed information about your SPF record.
Send a Test Email: Send an email from your domain to a recipient using a service like Gmail or Outlook. Check the email headers to see if the SPF check passes. In the email headers, you should see something like:
Copy code
Received-SPF: pass (google.com: domain of example.com designates 192.168.0.1 as permitted sender)
- If the SPF check fails, you might need to revisit your SPF record settings.
Step 7: Monitor and Update the SPF Record
Setting up an SPF record is not a one-time task. You need to monitor the record and update it as needed.
- Monitor SPF Failures: Keep an eye on any SPF failures reported by your email recipients or in your email logs. These failures can indicate that unauthorized servers are trying to send emails using your domain or that your SPF record needs adjustments.
- Update When Necessary: If you add new email-sending services or change your mail server, update your SPF record accordingly. Failing to do so might cause legitimate emails to fail SPF checks, leading to delivery issues.
Conclusion
To protect your domain from email spoofing and to ensure that your emails reach their intended recipients, you should set up an SPF record for your domain on the Alibaba cloud.
By following the above-mentioned steps, you can create a robust SPF record that authorizes your email servers while preventing unauthorized use of your domain.
Remember that maintaining your SPF record is an ongoing process. Regularly monitor your domain’s email traffic and update your SPF record as needed to keep your domain secure.